How to put text over images and videos in Content Studio… and have it appear at different times
Two weeks ago, we talked about placing text over images and videos in Content Studio. If you didn’t read that article, I recommend you check it out before continuing with this one. It covers a lot of the basics: How to put text over images and videos in Content Studio Now that you’re all caught […]
Daktronics Commercial Software Training on 8/17/2016
Categories: Venus Control Suite Training
Two weeks ago, we talked about placing text over images and videos in Content Studio. If you didn’t read that article, I recommend you check it out before continuing with this one. It covers a lot of the basics:
How to put text over images and videos in Content Studio
Now that you’re all caught up, we can begin! A really cool feature in Content Studio is the Timeline. The Timeline allows you to set timing in your presentation for layouts, elements, transitions, and element effects.
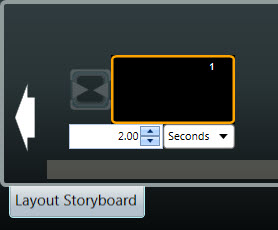
So, first things first, we have to enable the Timeline. The Layout Storyboard is the default view, so you will have to go into the Application Menu to enable the Timeline.
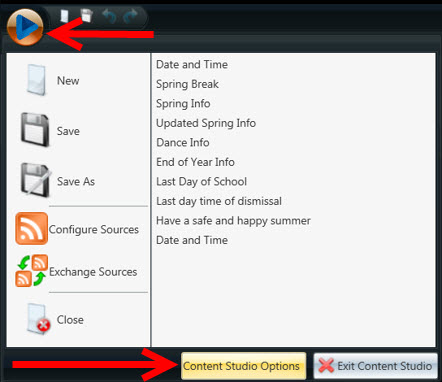
- Click on the Application Menu in the upper left corner. It is a blue Venus Control Suite logo.
- Click on the Content Studio Options button on the bottom of the dropdown menu.
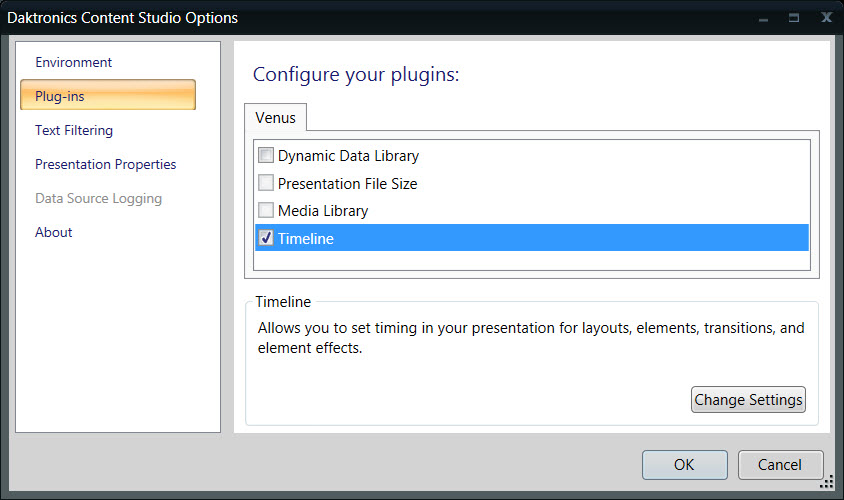
- Click on Plug-Ins.
- Put a checkmark in the box next to Timeline.
- Click OK.
Now Content Studio will look a little bit different. You will have a Timeline tab to the left of the Layout Storyboard tab, and you will no longer be able to adjust the duration of each layout from within the Layout Storyboard tab.
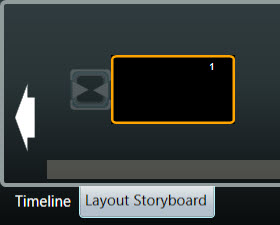
That ability now rests solely with the Timeline. You see, each layout in your presentation will be represented by a gray bar in the Timeline. Each gray bar has a little white edge that you can use to lengthen or shorten the play duration by clicking and dragging.
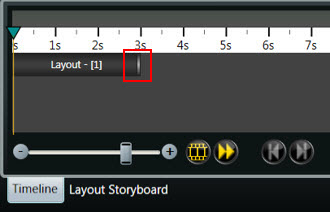
Try it! Hover your mouse over the white edge of the layout bar, and your cursor should turn into a double-sided arrow. Now just click and drag! It’s that easy!!
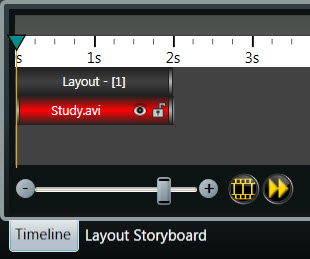
All right, you are now ready to import an image or video into your layout. Once you’ve done that, take a look at your Timeline, and you’ll see something new! You will now have a red element bar underneath your gray layout bar. Red element bars represent images or videos imported into a layout.
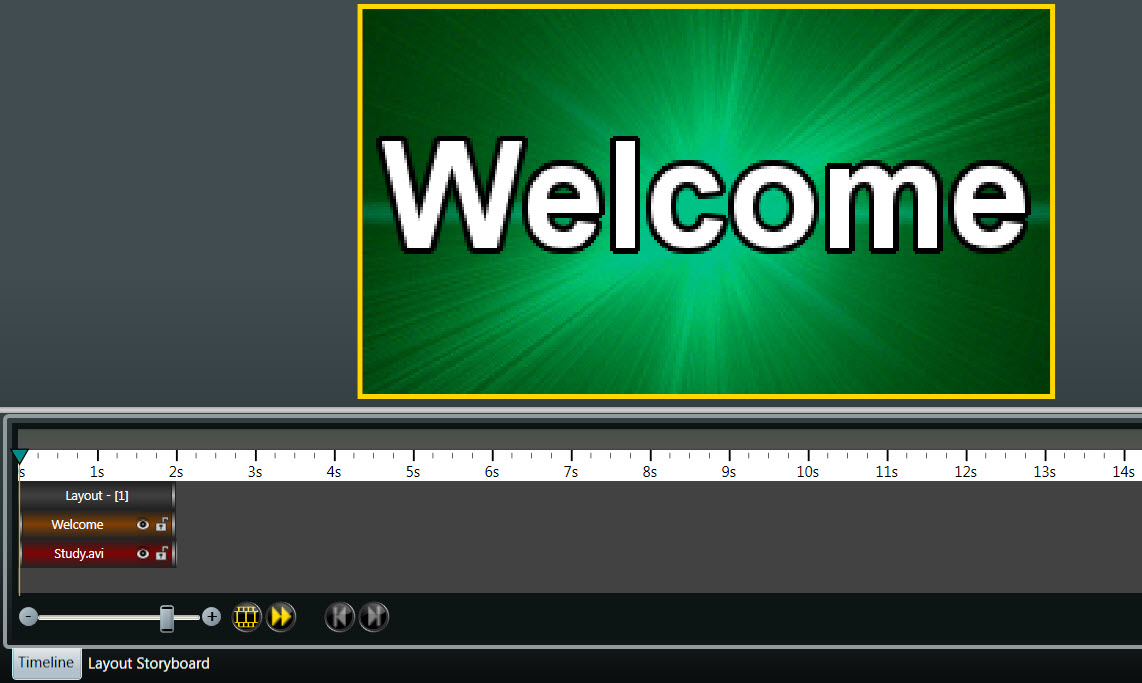
Go ahead and insert a text box over your image or video and type in the word “Welcome.” Again, take a look at your timeline, and you will now see an orange element bar! Orange element bars represent text boxes.
Trainer Tip: Any text typed directly into a layout will not be represented by an element bar. We recommend to use a textbox whenever putting text over an image or video!
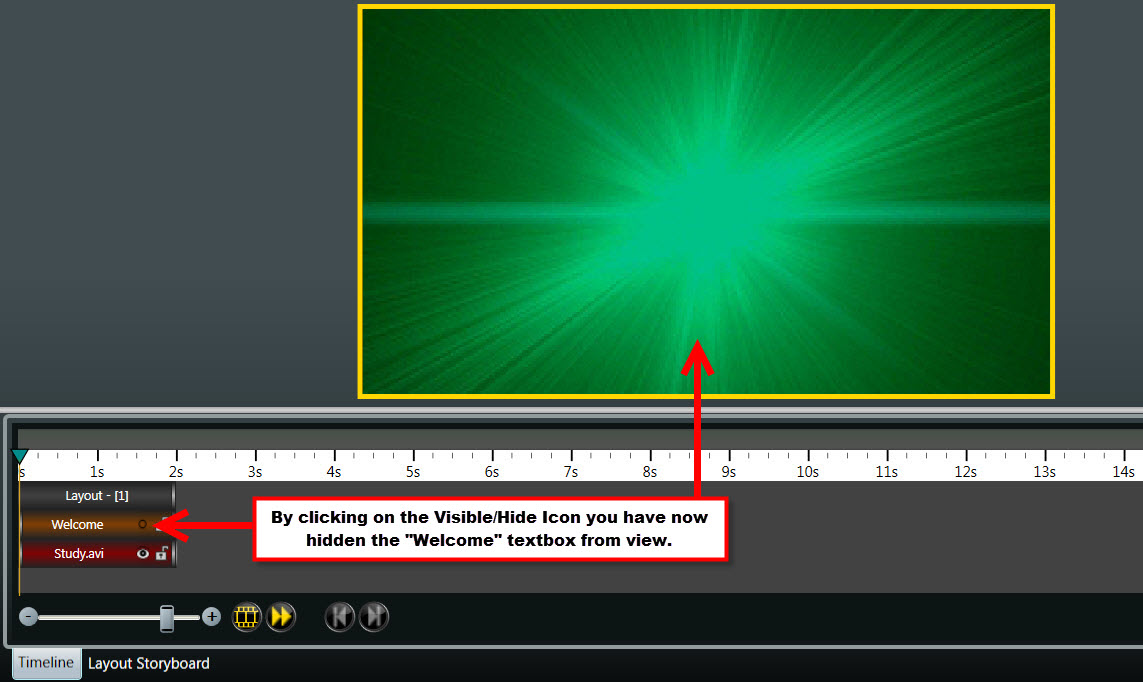
I want you to look very closely at your element bars now. A little closer . . . closer still . . . . All right, that’s close enough! You see the little eye icon in them? That is called the Visible/Hide icon, and this will show or hide the element in the Timeline.
Well, why in the world would I ever want to do such a thing, Mr. Blogger, sir?
Because it’s going to make entering in the rest of your message way easier, that’s why!
Let me explain. You see, the whole idea behind this presentation is to make our text show up at different times instead of putting it all in one layout at one time.
So click the little eyeball in your orange element bar to remove it. Now your text should be hidden from sight on your layout. Insert another textbox into your layout and type in “Back To.” Now click the Visible/Hide icon in its element bar to hide it, as well.
Lather, rinse, repeat.
Insert another textbox into your layout and type in “School.” We officially have our entire message entered into the layout. Now comes the fun part!
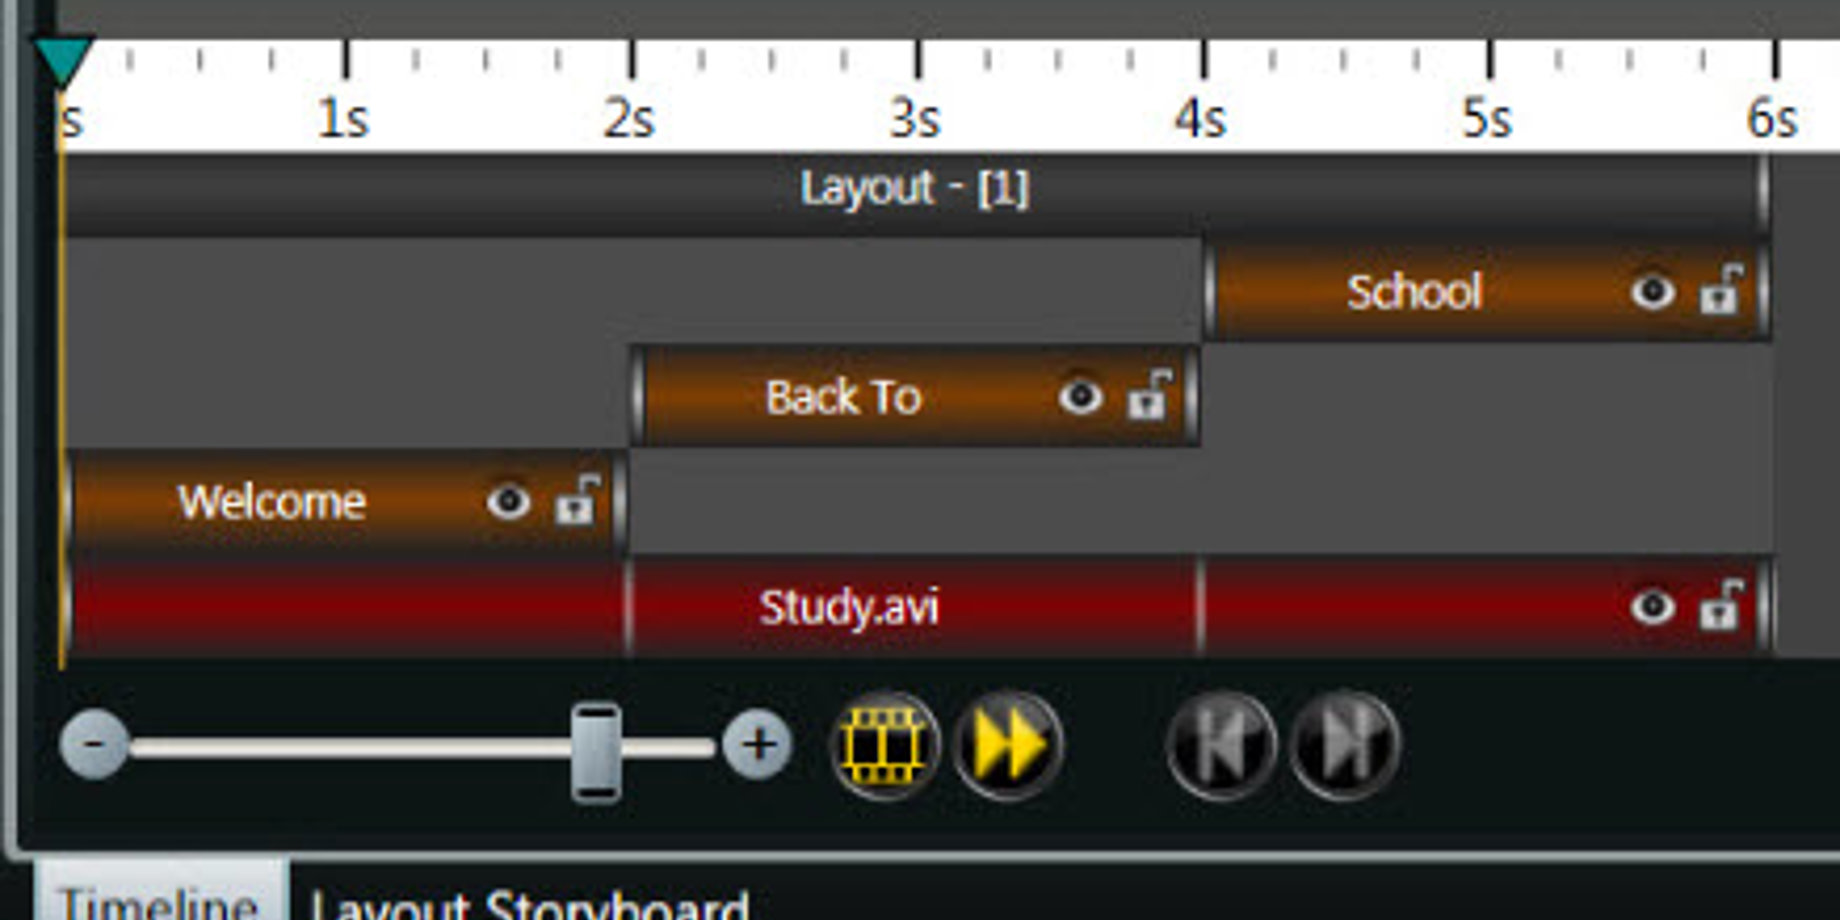
- Your Timeline should now contain 1 gray layout bar, 3 orange element bars, and 1 red element bar. The first thing I want you to do is drag your layout bar and your red element bar to a duration of 6 seconds.
- Now take your orange “Welcome” element bar and adjust the duration to 2 seconds and have it stop right at the 2 second mark.
- Drag your orange “Back To” element bar and have it start at the 2 second mark and stop at the 4 second mark.
- Move your orange “School” element bar to the 4 second mark and have it stop at the 6 second mark. Each of your orange elements should now be 2 seconds long and staggered like stairs.
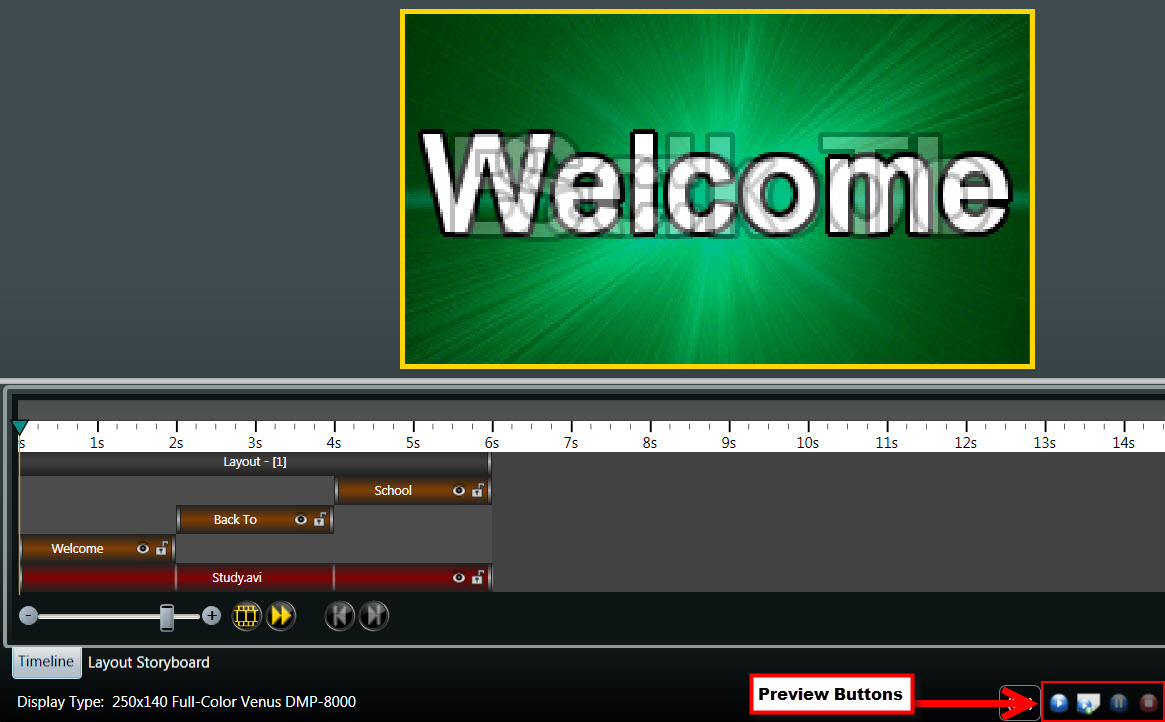
- Click the Play All preview button and watch your masterpiece come to life! The preview buttons can be found in the bottom right corner or in the View tab in the top ribbon.
You see how much fun you can have creating content when you use the Timeline?! You can create all kinds of attention-grabbing content for any occasion!
If it still seems like a lot, or if you don’t quite have the hang of it yet, take a look at the picture below and try to recreate it at home.
I guess you could call it . . . homework . . . but it seems too fun for that, so we’ll just call it practice. Practice does make perfect!
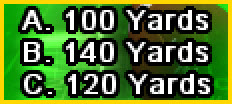
With football season coming up, we thought some football trivia would be appropriate!
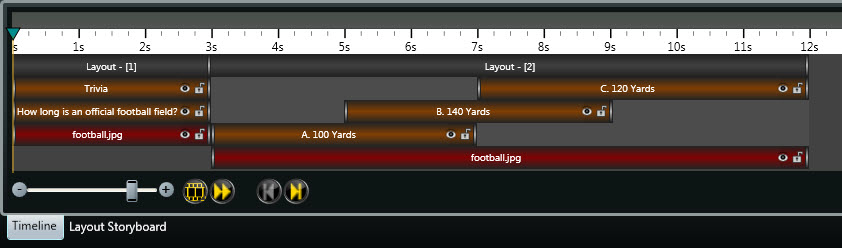
Hint: The correct answer is 120 yards. (If you missed the question, look at the timeline above in the first layout, in the text box element bar)
We hope you learned something new this week! Be sure to click on the orange “Receive Email Updates” button on the right side of your screen to subscribe to our blog so you never miss any future posts.
Thanks for reading!