
Let’s Play! Venus Control Suite Playlists
Playlists are used to schedule your content for your display. This week, we’ll show you how to create different types of playlists, how to add files to playlists, and how to publish to your display. Enjoy! There are 3 steps when it comes to creating a playlist: Choosing what kind of playlist it will be, […]
Daktronics Commercial Software Training on 4/20/2016
Categories: Venus Control Suite Training
Playlists are used to schedule your content for your display. This week, we’ll show you how to create different types of playlists, how to add files to playlists, and how to publish to your display. Enjoy!
There are 3 steps when it comes to creating a playlist: Choosing what kind of playlist it will be, adding your creative content, and finally, choosing a display to publish to. Let’s go over each step in depth, shall we?
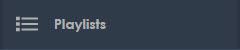
- In the Main Menu, click on the Playlists tab.
![playlist tab]()
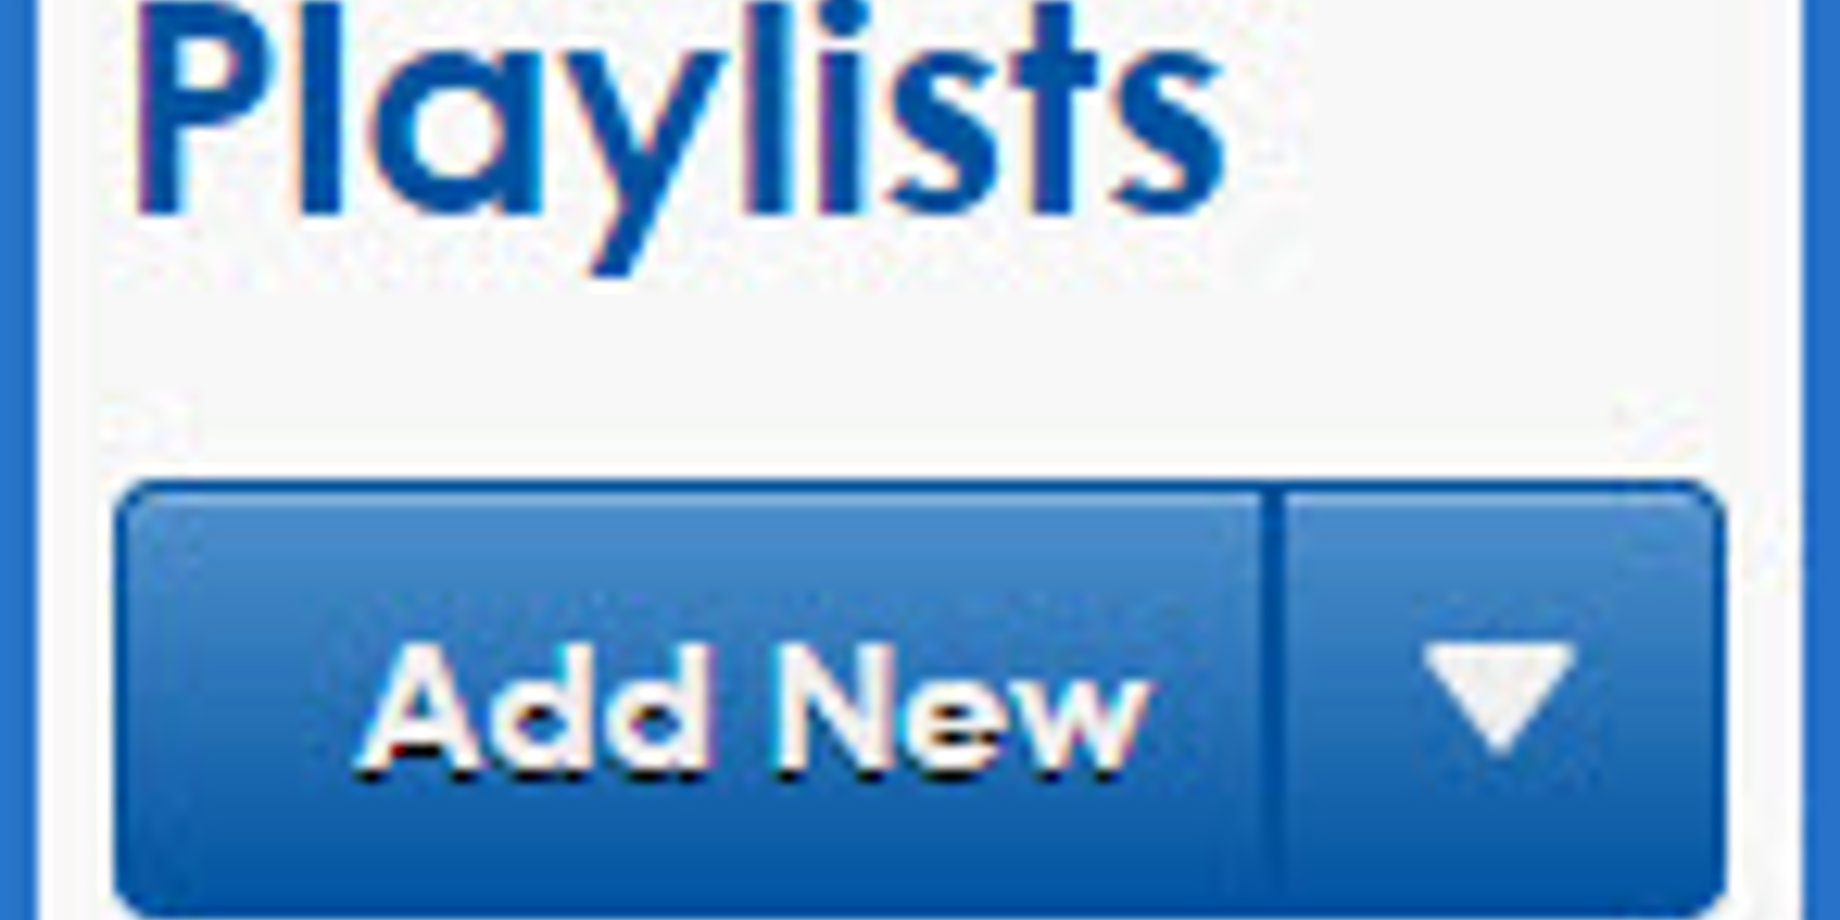
- To create a new playlist, click on the blue Add New button. To edit an existing playlist, double-click on the desired playlist.
![playlist details]()
![configuration]()
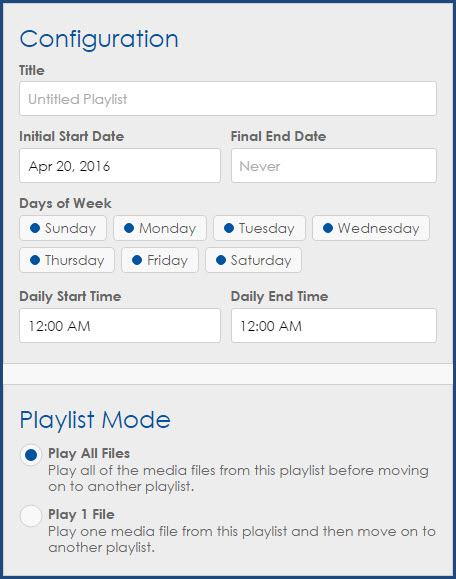
- Click Edit under Playlist Details.
- This is where you will determine what kind of playlist it will be. Start with giving it a Title relevant to the playlist. If you don’t, it will retain the title “Untitled Playlist.”
Trainer Tip: There are multiple different kinds of playlists. Some examples include Ongoing 24/7, which can be set up by choosing no end date or time and 12:00 AM to 12:00 AM as your start and end time. This allows your playlist to run continuously.
An Ongoing Through or 24/7 End Date Playlist can be set up by choosing an end date, but still leaving 12:00 AM to 12:00 AM is your start and end time. This allows you to schedule a playlist to run 24/7 for a specified date range.
A Daily Playlist can be scheduled by choosing an end date or leaving no end date, and then choosing a specific start time, like 8:00 AM, and a specific end time, like 5:00 PM. Now you will have a playlist scheduled to play only from 8:00 AM to 5:00 PM daily. Along with this selection, you could also choose specific days of the week. For example, you could remove the blue dots from Saturday and Sunday to have the message playing only during week days and not on weekends.
- Enter in your Initial Start Date and Final End Date for the playlist. If an end date is not filled in, the playlist will continue to play until manually stopped.
- Choose the days of the week you want the playlist to play. Every day that has a blue dot is a day the playlist will play. Click the blue dots to remove them from unwanted days.
- Enter in your Daily Start Time and Daily End Time for the playlist. These times indicate the time range that applies to each day.
- Choose your playlist mode. Play All Files will play all of the media files from the playlist before moving on to another playlist. Play 1 File will play one media file from each, ensuring equal play time for all playlists.
Trainer Tip: Why would you want to ensure equal play time for all your playlists? Well, what if you have 3 playlists for 3 different advertisers? All of them will want their content to be played X number of times per day or per a specific time period each day. So choosing Play 1 File Mode for each of their playlists will rotate between all of their content evenly, 1 piece at a time.
- Click the blue Save button.
- This is where you will determine what kind of playlist it will be. Start with giving it a Title relevant to the playlist. If you don’t, it will retain the title “Untitled Playlist.”
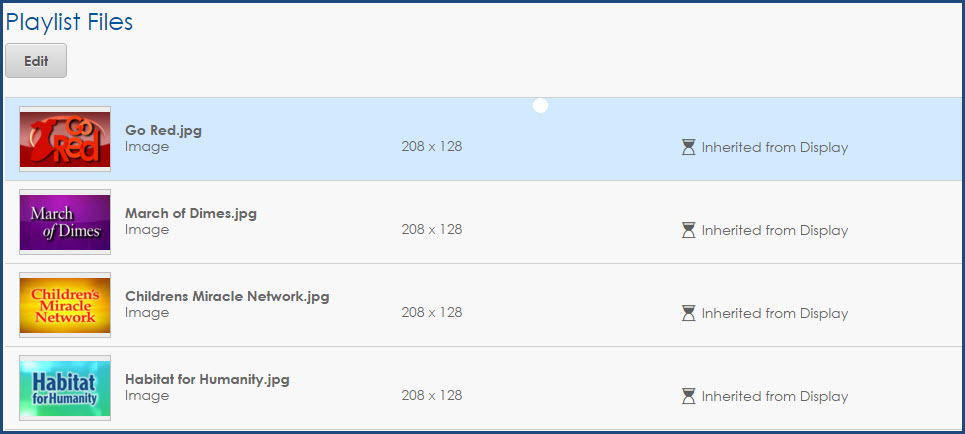
- Click Edit under Playlist Files.
- This is where we will choose all the files we want to have in our playlist. Content must be uploaded into the media library first, though.Trainer Tip: You can use the Filters Feature on the right-hand side of the page to search for and find content easier. Tags are a great way to organize and find your content!
- You can either click and drag, or click the plus sign next to the file you want to added to the playlist.
- Once you have all your files in the Playlist Files column, you can reorder them by clicking on the 6 dots to the left of the thumbnail and dragging and dropping to the desired order.
- There is a 60 file limit per playlist, but you can create as many playlists as you like; so when you have reached the limit or added everything you want, click the Save button.
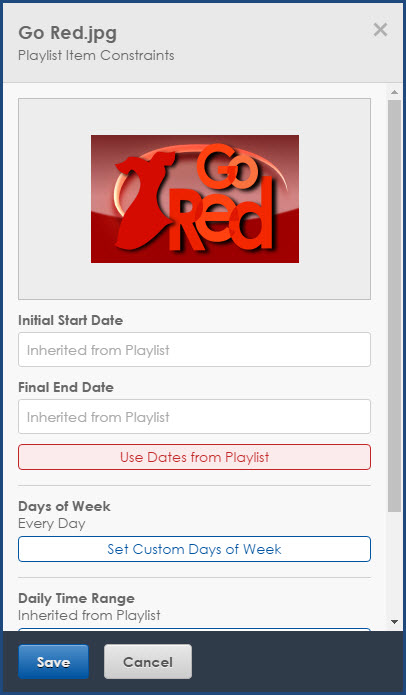
- Now you will be back in the Playlist screen. Here you can click on individual pieces of content to apply different dates/times/image durations if you choose.
![Playlist Files]()
![Playlist item 1]()
![Playlist Item 2a]()
- When you are finished applying custom dates/times/image durations to a file, then click Save and repeat until you have each file scheduled accordingly.
- Click Edit under Displays.
- This is where you will choose which display(s) you want to send your playlist to.
- Click and put a checkmark next to the display(s) you want.
- Then click the blue Save button. As soon as you click Save, your playlist will immediately be sent out and published to your display(s).


Congratulations! You just created and published your first playlist! Remember, the more you do it, the better you will get at it. Practice makes perfect! Once you have multiple playlists created, you can determine the order your content will play just by looking at them.
They will play from top to bottom according to the start and end dates and times, days of the week, and playlist mode you selected when first creating your playlists.
For additional information regarding playlist in Venus Control Suite, please click the following link to read an article from our Knowledge Base.
How do I create a playlist in Venus Control Suite?
If you found today’s post helpful and enjoy reading our blog, be sure to click on the orange “Receive Email Updates’ button on the right side of the page. Like we always say, thanks for reading!