
Learn All About the Latest Updates in the Venus Control Suite Software
Learn how to use all the new features added to Venus Control Suite this week, including Transitions, Multiple Hours of Operation and Parent to Child Scheduling.
Daktronics Commercial Software Training on 7/27/2018
Categories: Venus Control Suite Training

Scheduled transitions on a display – a default transition can be set for a display
Venus Control Suite users with a display that has a DMP-8000 (version 8.7 or later) player will now be able to add transitional effects to their presentations without having to use Content Studio.
To allow transitions to be played between messages on your display, click on Displays in the Main Menu. From there you will click on the Transitions link.
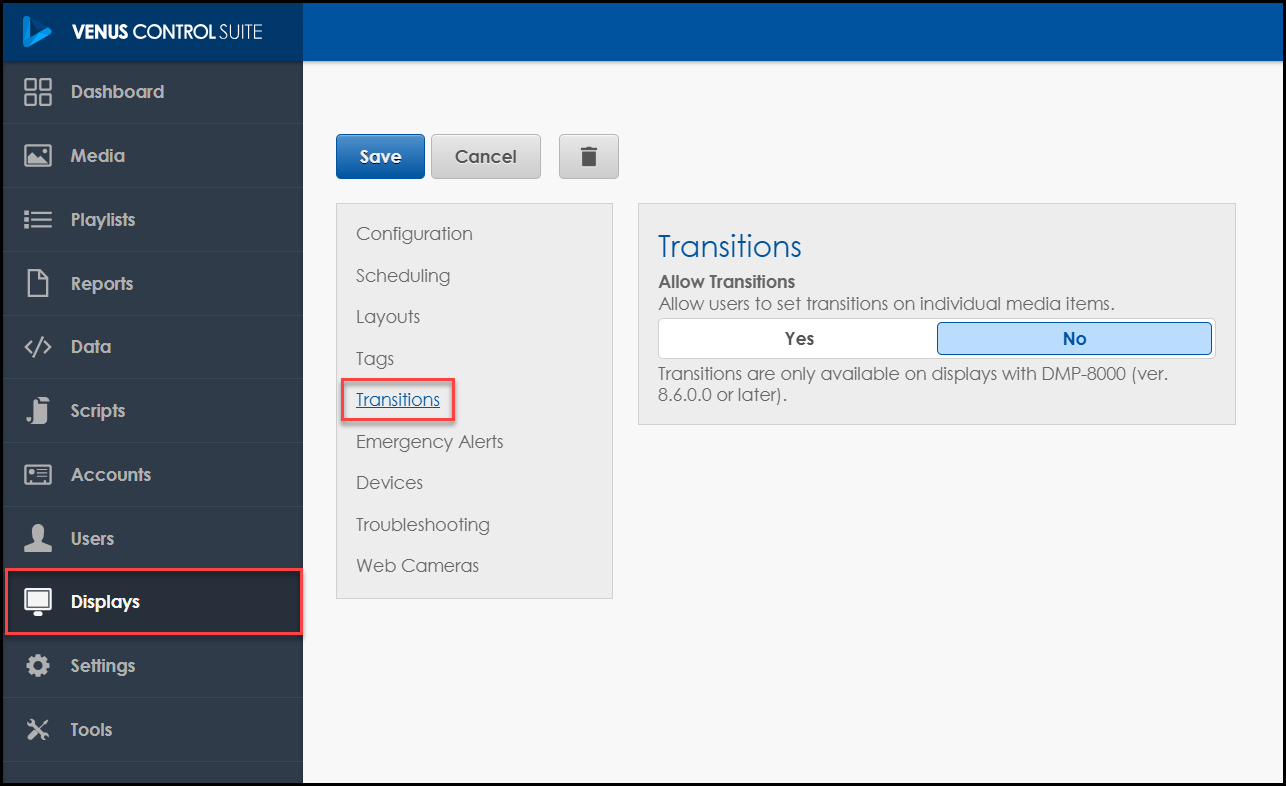
Next, click Yes to Allow Transitions.
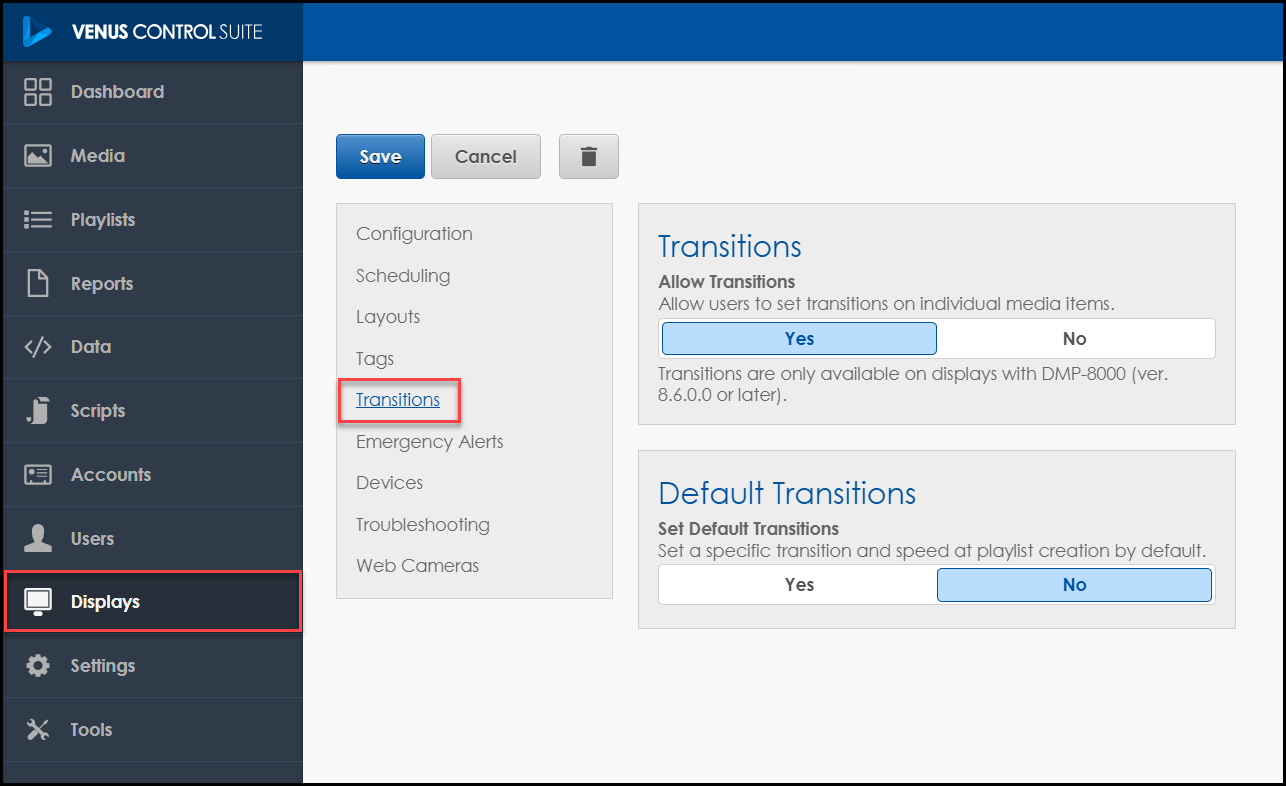
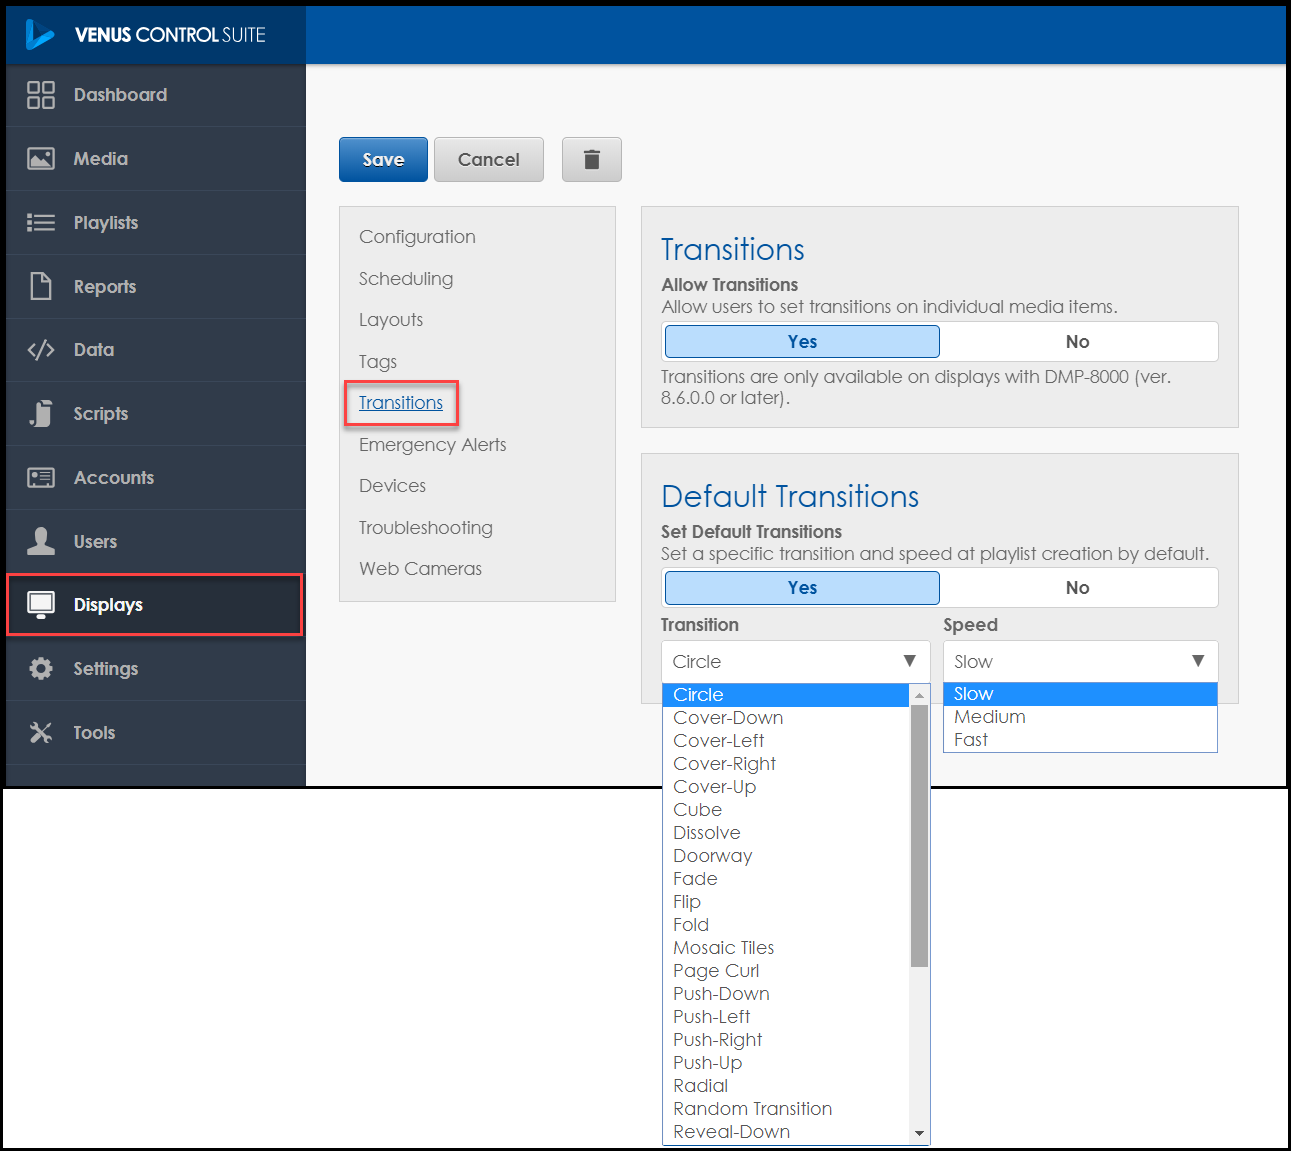
Finally, click Yes to Set Default Transitions and then choose your transition and speed from the drop-down menus.
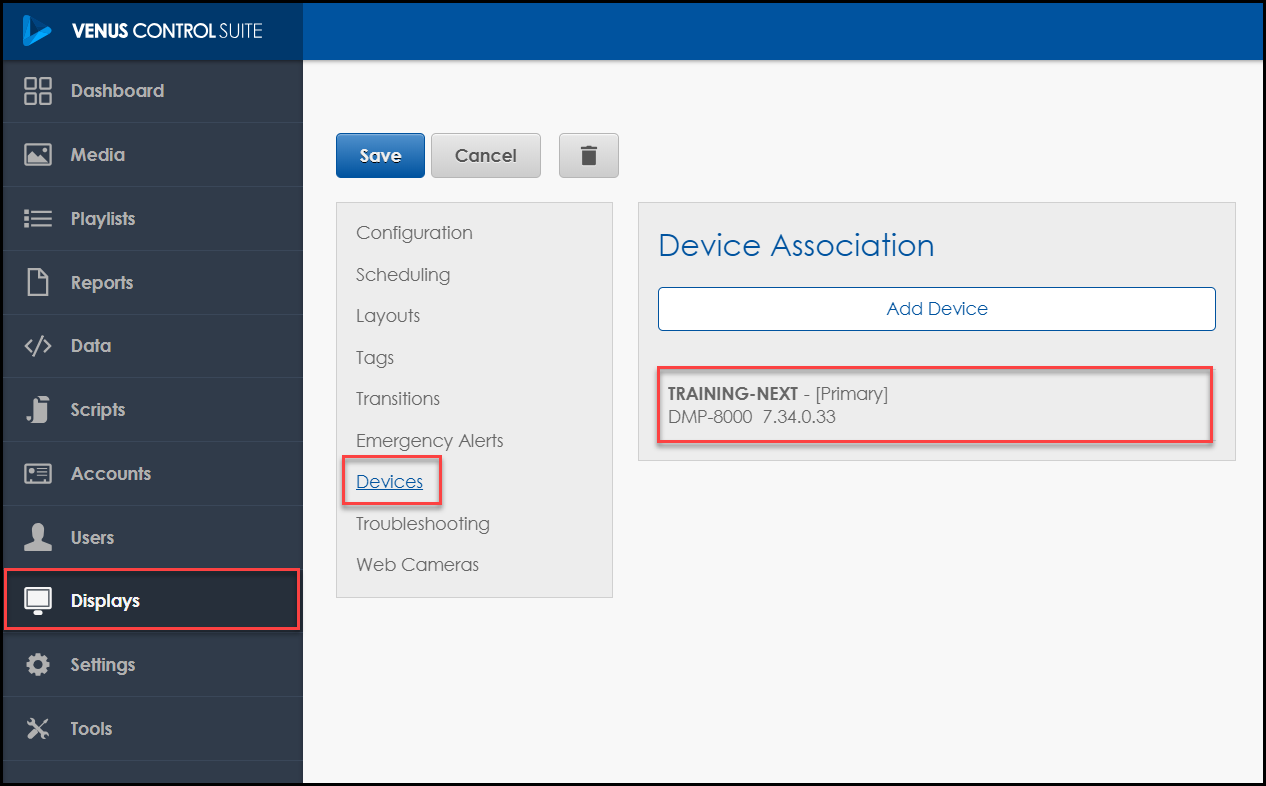
As an administrator, you can find out which type of player is in your display by going into the Displays tab in the Main Menu. Once you get there, click on your display and then click on Devices. Within the Device Association window, you will see your player type and revision.
Keep in mind, if you do not have a DMP-8000 player, you can still add transitional effects to your messages by creating Content Studio presentations. Click below to learn more!
Multiple hours of operation for displays – hours of operation can now be set per day
You can now set multiple hours of operation for your display. This means that rather than having a single start and end time for your display to turn on and off that applies to every day of the week, you can now choose individual start and end times for each day of the week! Talk about flexibility!
Just go into Displays in the Main Menu and click on your display. Next, click on the Scheduling link and scroll down to the Hours of Operation section.
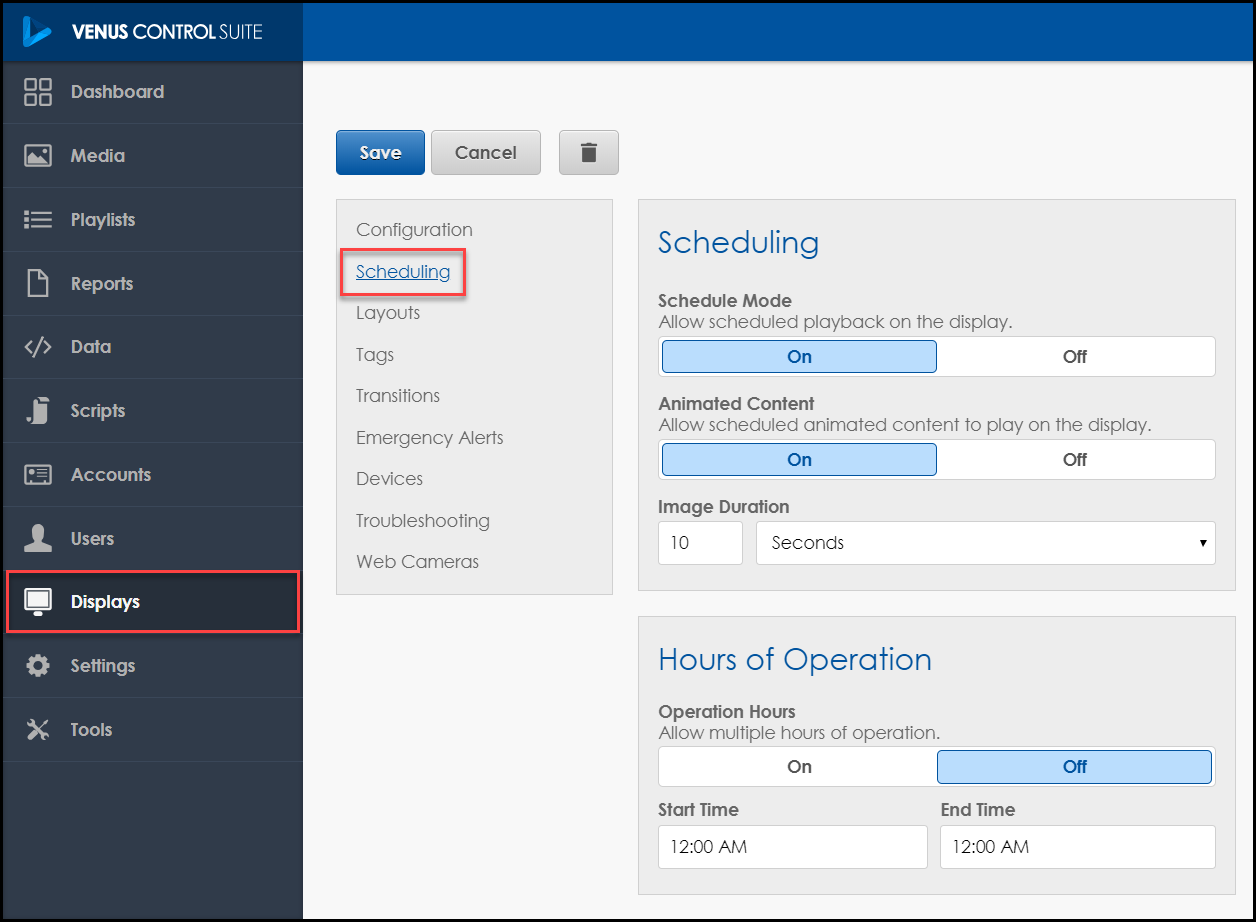
From here you will click “On” to allow multiple hours of operation. Now you will see each day of the week next to its respective start and stop times, which you can adjust accordingly.

Parent to child Scheduling – a parent account can now schedule down to a child account
We saved the best for last this week. Drumroll, please! Venus Control Suite users set up in a hierarchy can now create and schedule playlists from the parent account.
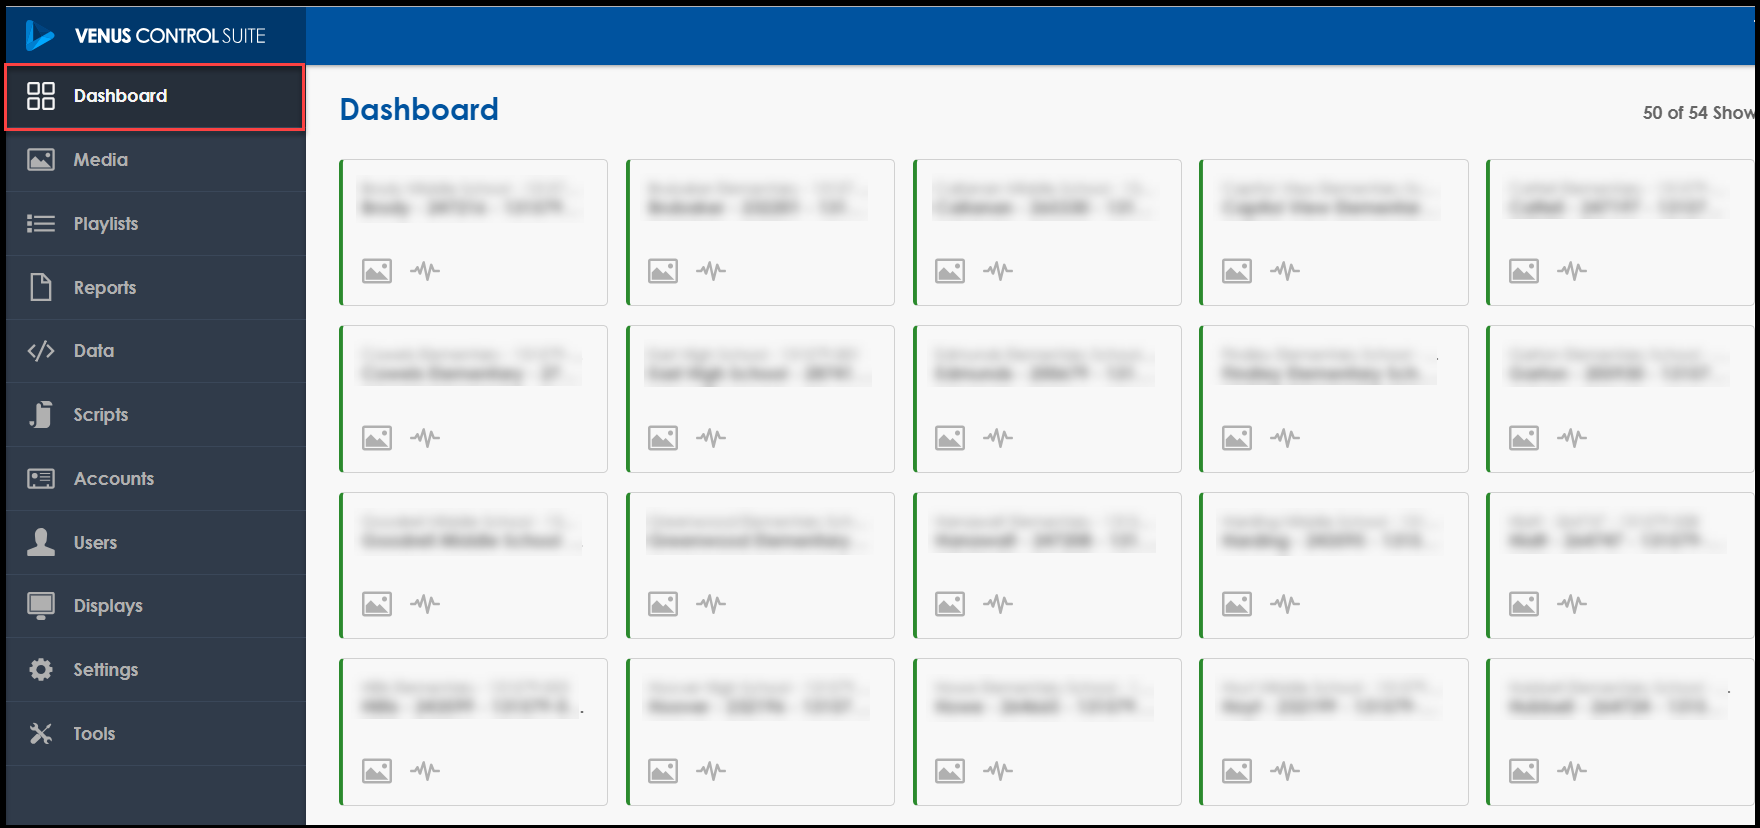
Let’s say you are set up as an administrator for a school district and can see all of the displays (Elementary School, Intermediate School, Middle School, High School) on your Dashboard.
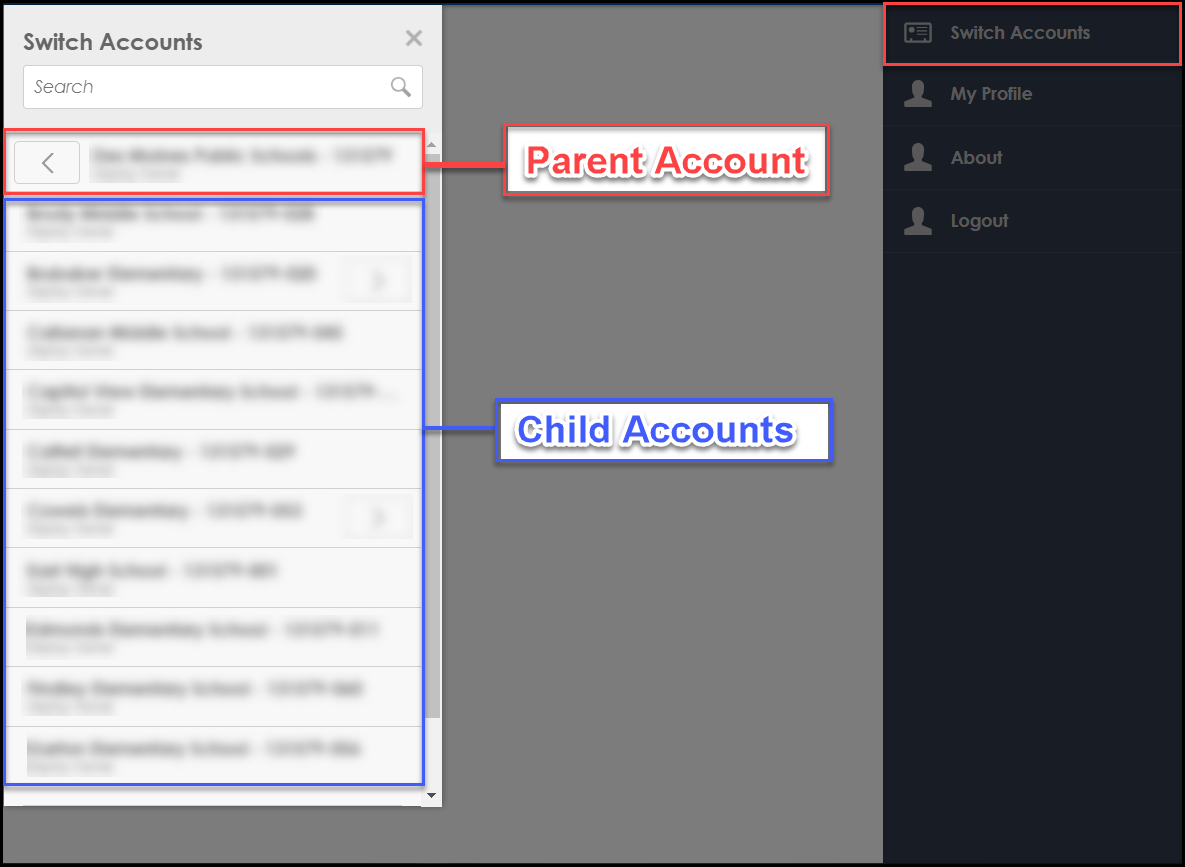
Prior to today, you would not have been able to create or schedule playlists for those schools without clicking on the User Menu and switching accounts into each individual school.
However, that has all changed! You can now click on Playlists and schedule content from the parent account without ever having to switch into any child accounts.
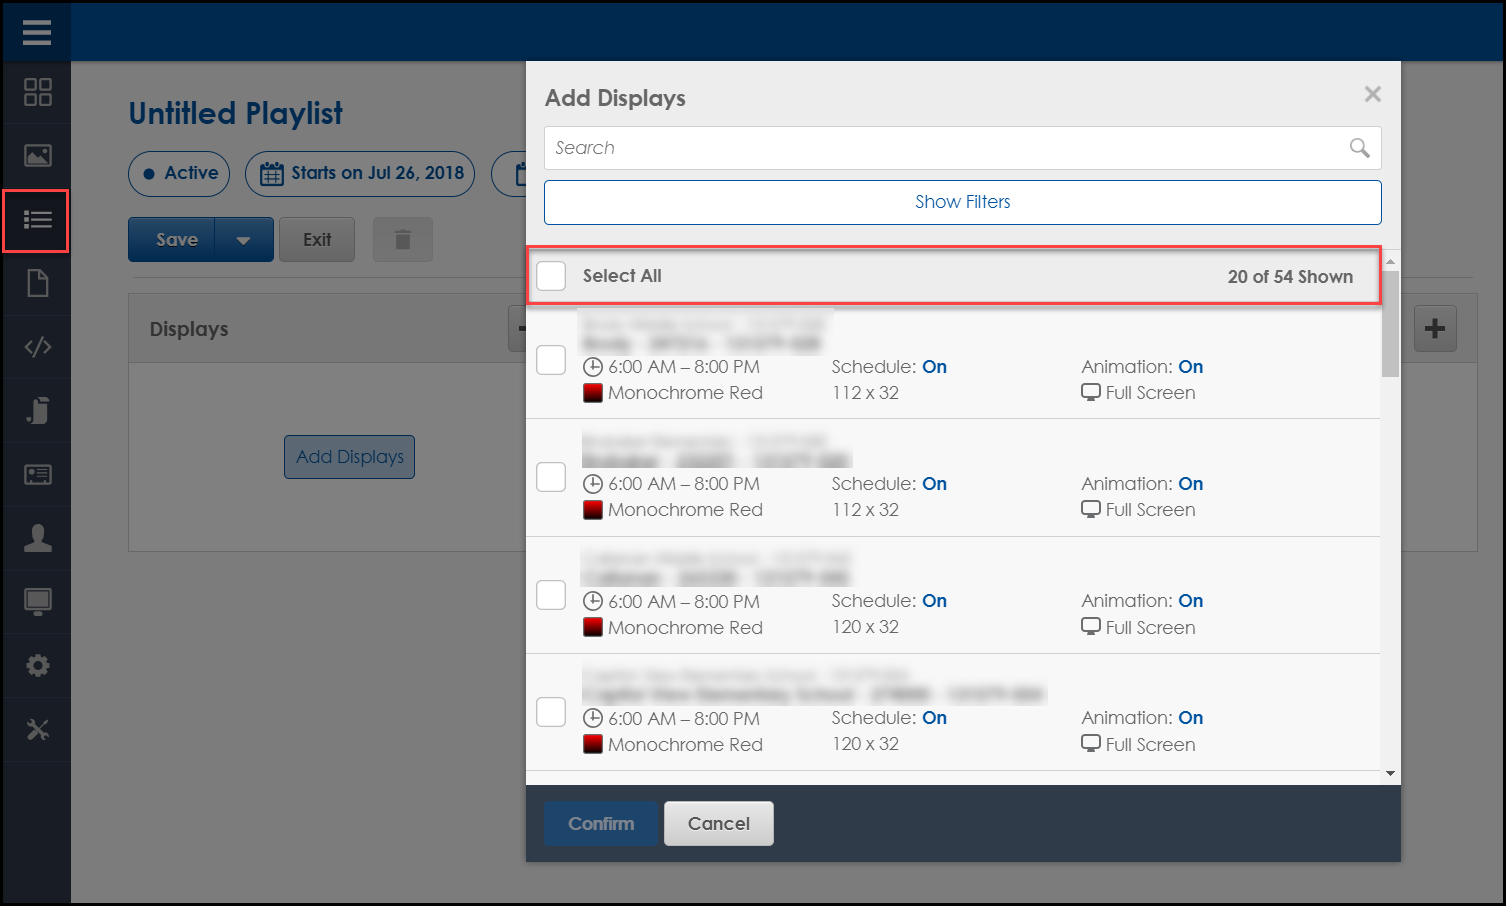
Just put checkmarks next to the display(s) you want to send the playlist to, click Confirm and then Save. If you have displays that are differently sized, we recommend creating separate playlists that contain correctly sized media files.
This is perfect for scheduling emergency messages. Click below to learn more!
I want to mention one final thing. Are you a user in a child account, and you can only see your own display in the Dashboard? If so, you will not be able to edit or delete playlists scheduled by anyone in the parent account above you.
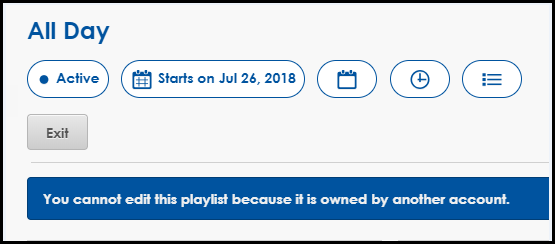
Playlist alert.
You will know which playlists are shared down from the parent account because they will be labeled as such.
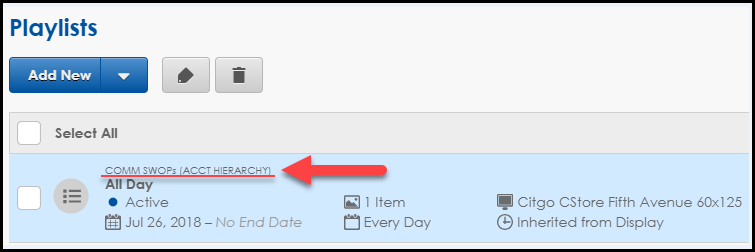
View of parent account playlist from child account.
We hope you find these new features helpful!
Be sure to click on the orange “Receive Email Updates” button on the right side of the page to stay up to date with all the latest updates!
Thanks for reading!